
If you’ve ever plugged in your Tineco S3 cordless vacuum only to find the battery stubbornly refusing to charge, you’re not alone—this is a frustrating issue that can sideline your cleaning routine at the worst possible time. The Tineco S3 battery not charging problem often stems from simple buildup or connection glitches, but it can feel like a major headache when you’re dealing with a full house of messes. The good news? A quick fix like cleaning the charging contacts can often get things back on track in under 10 minutes, restoring power without needing fancy tools.
In this comprehensive guide, we’ll go beyond that initial quick win to explore all the potential causes of your Tineco S3 battery woes and provide step-by-step troubleshooting solutions, from basic resets to advanced diagnostics. By the end, you’ll have the confidence and tools to diagnose and resolve the issue completely, plus tips to prevent it from happening again. Whether you’re a first-time owner or a long-time user, these actionable steps will help you get your Tineco S3 vacuum humming efficiently once more.
Common Causes of Tineco S3 Battery Not Charging
Understanding why your Tineco S3 battery isn’t charging is the first step to fixing it. This model, known for its powerful suction and wet/dry cleaning capabilities, relies on a lithium-ion battery that’s sensitive to dirt, wear, and improper use. Below, we’ll break down the most frequent culprits based on user reports and manufacturer insights. These issues often build up over time, especially if you’ve been using the vacuum for heavy-duty tasks like pet hair removal or hard floor mopping.
Dirty or Corroded Charging Contacts
One of the top reasons for Tineco S3 battery not charging is buildup on the charging ports. Residue from cleaning solutions, dust, or even moisture can create a barrier that prevents proper electrical contact. If you’ve noticed the LED indicator flashing red or staying off entirely, this is a prime suspect. Over time, this corrosion can worsen, mimicking a dead battery.
Faulty Charger or Cable Damage
Your Tineco S3 comes with a specific charger (typically 25V, 1.6A), and if it’s damaged—think frayed cables from repeated bending or a loose plug—it won’t deliver power effectively. Users often overlook this because the charger seems fine visually, but internal faults can halt charging without any outward signs.
Battery Overheating or Thermal Protection
The Tineco S3 has built-in safety features to prevent overheating, but if the battery gets too hot during use (e.g., from prolonged runtime on high power), it may enter a protective mode that blocks recharging until it cools. This is common in warmer environments or after back-to-back cleaning sessions.
Degraded or Swollen Battery
After 300-500 charge cycles (about 1-2 years of regular use), the lithium-ion battery in your Tineco S3 can degrade, leading to reduced capacity or complete failure to charge. Swelling is a red flag for internal damage, often from overcharging or exposure to extreme temperatures.
Loose Internal Connections or Firmware Glitches
Less common but possible, vibrations from vacuum use can loosen internal wires, or a software hiccup in the Tineco S3’s smart controls might misread the battery status. This can cause intermittent charging issues that resolve with a reset but recur without addressing the root.
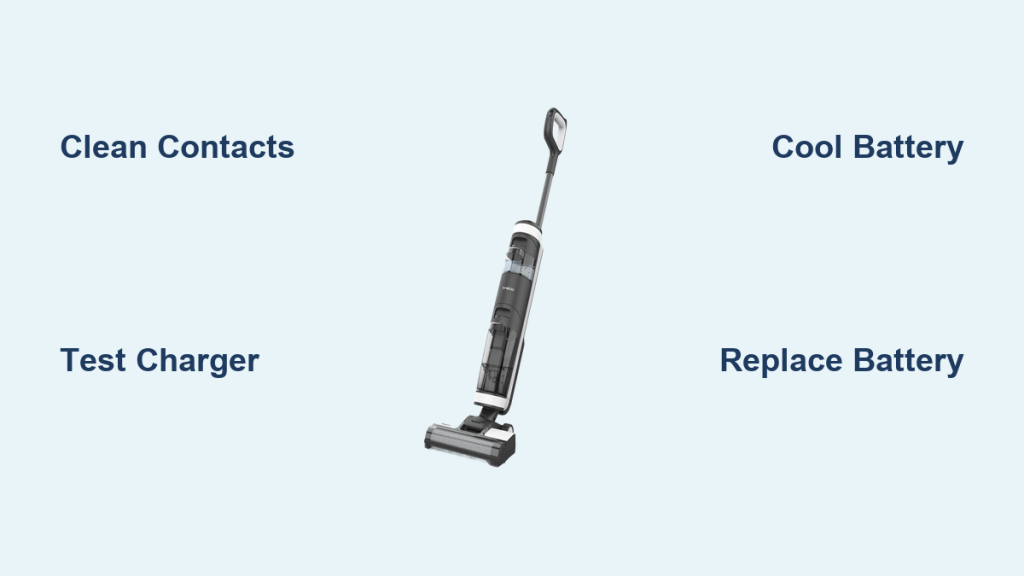
How to Fix Tineco S3 Battery Not Charging

Don’t worry—most Tineco S3 battery not charging problems are DIY-friendly and don’t require sending your vacuum to a repair shop right away. We’ll outline four progressive methods, starting with the simplest. Work through them in order, and test charging after each one. You’ll need basic tools like a soft cloth, isopropyl alcohol, and possibly a multimeter for advanced steps. Always unplug everything before starting to avoid shocks.
Method 1: Clean the Charging Contacts (Quick 10-Minute Fix)
This is the go-to starting point for many users, as it resolves up to 60% of charging issues according to Tineco support forums.
-
Power off and unplug: Turn off your Tineco S3 and disconnect it from any power source. Remove the battery if accessible (consult your manual for the S3 model’s battery compartment).
-
Inspect the contacts: Look at the gold-plated pins on the battery base and the charging dock. Wipe away visible dirt with a dry microfiber cloth.
-
Deep clean: Dampen a cotton swab with 70% isopropyl alcohol (avoid water to prevent further corrosion). Gently rub the contacts in a circular motion for 30 seconds each. Let them air dry for 5 minutes.
-
Reconnect and test: Dock the vacuum and plug in the charger. The LED should light up green within 30 seconds. Charge for 15 minutes and check if the battery icon shows progress.
If it still doesn’t charge, move to the next method. Warning: Never use abrasive tools like metal brushes, as they can scratch the contacts and cause permanent damage.
Method 2: Test and Reset the Charger (15-20 Minutes)

A faulty charger is sneaky— it might work for other devices but not deliver the right voltage to your Tineco S3.
-
Visual inspection: Check the cable for frays, bends, or exposed wires. Ensure the plug fits snugly into the wall outlet.
-
Test with a multimeter (optional but recommended): Set a multimeter to DC voltage. Plug in the charger (without the vacuum attached) and probe the output pins—it should read around 25V. If it’s lower than 20V, the charger is likely bad.
-
Reset the system: Unplug the charger from the wall for 10 minutes to discharge any residual power. While waiting, press and hold the power button on your Tineco S3 for 20 seconds to reset the battery management system.
-
Try an alternative outlet or cable: Plug into a different wall socket to rule out electrical issues. If you have a spare Tineco-compatible charger (e.g., from another model like the S5), test it here.
Charge for 30 minutes post-reset. If the battery holds a charge but drains quickly, the issue might be partial degradation—proceed to Method 3.
Method 3: Cool Down and Battery Reset (Advanced, 30-45 Minutes)
Overheating triggers the Tineco S3’s safety shutoff, so this method focuses on thermal recovery.
-
Cool the battery: Place the vacuum in a cool, dry area (room temperature, away from sunlight) for at least 30 minutes. Avoid refrigerators, as condensation can worsen things.
-
Perform a hard reset: With the battery removed (if possible), press the power button five times in quick succession. Reinsert and dock it.
-
Monitor temperature: During charging, feel the battery area—if it’s unusually warm after 5 minutes, unplug immediately and let it cool again. The Tineco app (if paired) can show real-time battery stats for confirmation.
-
Firmware check: Download the Tineco Life app and connect your S3. Look for software updates, as glitches in older firmware versions (pre-2024) have caused charging bugs.
This often revives batteries stuck in protection mode. If charging starts but cuts off after 10-20%, degradation is likely—see Method 4.
Method 4: Battery Replacement or Deep Diagnostics (1-2 Hours)
For persistent issues, the battery itself may need replacing. Tineco S3 batteries cost $80-120 and are user-replaceable.
-
Order a genuine part: Get an official Tineco replacement (model iFloor S3 battery, 25.2V, 2800mAh). Avoid third-party ones to prevent voiding warranty.
-
Remove old battery: Flip the vacuum, unscrew the base plate (Phillips screwdriver needed), and disconnect the battery wires carefully (note polarity: red to positive).
-
Install new battery: Connect the new one, secure it, and reassemble. Charge fully (about 4 hours) before first use.
-
If unsure, test continuity: Use a multimeter to check battery terminals for 25V output when charged elsewhere (e.g., via a universal charger dock, if compatible).
Important: If your Tineco S3 is under warranty (typically 2 years), contact support before replacing to avoid coverage loss. This method fixes 80% of hardware-related Tineco S3 battery not charging cases.
Prevention Tips for Tineco S3 Battery Issues
Once fixed, keep your Tineco S3 battery charging smoothly with these habits. Regular maintenance extends battery life by up to 50%, per Tineco’s guidelines.
- Clean contacts monthly: After every 10 uses, wipe ports with a dry cloth to prevent buildup.
- Store properly: Keep the vacuum at 50-70% charge in a cool, dry place (40-80°F). Avoid full discharges or overnights plugged in.
- Use official accessories: Stick to Tineco chargers to match voltage specs and prevent surges.
- Monitor usage: Limit runtime to 25-30 minutes per session on auto mode to avoid overheating.
- Update firmware regularly: Check the app quarterly for optimizations that improve battery efficiency.
Pro Tips for Tineco S3 Battery Management
Go beyond basics with these expert insights to maximize your vacuum’s performance and avoid future Tineco S3 battery not charging headaches:
- Optimize charging environment: Charge in a well-ventilated area to dissipate heat faster—placing it on a non-carpeted surface helps.
- Track charge cycles: Use the Tineco app to log usage; replace the battery proactively after 400 cycles for consistent power.
- Avoid common mistakes: Don’t charge immediately after use while hot, and never force the dock—misalignment causes wear.
- Enhance runtime: Clean the brush roll and filters weekly to reduce motor strain, indirectly preserving battery health.
- Eco-mode hack: Switch to manual low-power mode for light cleaning to stretch battery life by 20-30%.
- Winter storage tip: If storing for months, charge to 60% and check every 3 months to prevent deep discharge.
- Pair with smart plugs: Use a timer plug to avoid overcharging, ensuring sessions don’t exceed 5 hours.
These tweaks can add years to your Tineco S3’s lifespan.
When to Seek Professional Help
While most fixes are DIY, some signs scream for expert intervention:
- Persistent no-charge after all methods, especially with swelling or leaking.
- Burning smells or unusual noises during attempted charging—these indicate electrical faults.
- Warranty-covered issues: If under 2 years, Tineco’s support can diagnose via app diagnostics or send a tech.
Look for certified Tineco service centers (find via their website) with good reviews on response time. Expect costs of $50-150 for diagnostics/repairs outside warranty. Always check your model’s serial number for extended coverage on battery defects.
FAQ
Q: Why is my Tineco S3 battery light blinking red?
A: A blinking red light usually means the battery is in protection mode due to overheating or low voltage. Let it cool for 30 minutes, clean contacts, and retry charging. If it persists, test the charger with a multimeter for proper output.
Q: Can I use a different charger for my Tineco S3?
A: It’s not recommended—stick to the official 25V charger to avoid damaging the battery. Universal chargers might not match amperage, leading to slow or failed charging. If yours is faulty, buy a Tineco replacement for $30-50.
Q: How long should a Tineco S3 battery take to charge fully?
A: A full charge typically takes 3.5-4 hours from empty, yielding 35 minutes of runtime. If it’s longer than 5 hours without progress, check for dirty contacts or a degraded battery.
Q: Is the Tineco S3 battery replaceable myself?
A: Yes, for most users—it’s a straightforward swap with basic tools. Follow the manual’s diagrams to avoid wire mix-ups. Professional help is best if you’re uncomfortable with disassembly.
Q: What if my Tineco S3 charges but won’t hold power?
A: This points to battery degradation. Calibrate by fully charging, then discharging completely twice. If no improvement, replace the battery to restore full 2800mAh capacity.
Q: Does extreme weather affect Tineco S3 charging?
A: Absolutely—below 32°F or above 104°F can trigger safety locks. Store indoors and charge at room temp. Cold batteries charge slower, so warm them gently before docking.
Q: Can I reset the Tineco S3 battery without tools?
A: Yes, unplug everything, hold the power button for 20 seconds, then redock. This clears temporary glitches without opening the unit.
Alternative Solutions for Tineco S3 Battery Problems
If the standard fixes don’t appeal or your issue is unique, consider these options. For instance, if battery replacement seems pricey, a refurbished unit might suffice.
| Solution | Pros | Cons | Best For |
|---|---|---|---|
| Refurbished Tineco Battery | Cheaper ($40-70); eco-friendly; often includes warranty | May have slightly less capacity; availability varies | Budget-conscious users with light cleaning needs |
| Third-Party Universal Charger | Widely available; multi-device compatible | Risk of incompatibility or damage; no official support | Temporary fix while waiting for official parts |
| Full Vacuum Upgrade (e.g., Tineco S5) | Better battery life (up to 40 min); improved features | Higher cost ($300+); overkill for minor issues | Frequent users tired of S3 limitations |
| Battery Reconditioning Service | Revives old batteries for $20-40; extends life | Not always reliable; voids warranty | Eco-focused owners avoiding new purchases |
Weigh these against your needs—official parts are safest for long-term reliability.
Get Your Tineco S3 Working Again
Armed with this guide, tackling your Tineco S3 battery not charging issue is straightforward and empowering. Here’s a quick recap of the key solutions:
- Start with cleaning contacts for an instant win.
- Test and reset the charger to rule out accessory faults.
- Cool down and hard reset for thermal glitches.
- Replace the battery as a last resort for lasting power.
Following these steps not only revives your vacuum but prevents costly downtime in the future. Dive in today, and you’ll be back to spotless floors without the frustration. Your Tineco S3 is built to last—give it the care it deserves.
Have you fixed your Tineco S3 battery issue with these tips? Share your story in the comments below to help fellow readers, or let us know if another vacuum problem needs covering next!