
Installing a Tineco wall mount for your cordless vacuum can transform your cleaning routine by giving you a dedicated, space-saving storage spot right where you need it. If you’ve just unboxed your new Tineco iFloor or Pure One series vacuum and are staring at that wall mount kit, wondering where to start, you’re not alone—many users feel overwhelmed by the tools and steps involved. The good news? A quick fix to get started is to simply locate a sturdy wall stud and use the included template to mark your spots, which can have your mount up in under 30 minutes if everything goes smoothly. This Tineco wall mount installation guide will walk you through the process safely and efficiently, ensuring your vacuum stays charged and out of the way.
Beyond the basics, this comprehensive guide dives deep into preparation, tools, and troubleshooting, so you can handle any surprises like uneven walls or tricky stud locations. We’ll cover everything from gathering materials to testing your setup, plus pro tips to make it last. By the end, you’ll have your Tineco vacuum securely mounted, freeing up floor space and keeping things organized—follow along, and you’ll be enjoying a clutter-free home in no time.
What You’ll Need for Tineco Wall Mount Installation
Before diving into the Tineco wall mount installation, it’s essential to have the right tools and materials on hand. Tineco typically includes the wall mount bracket, screws, anchors, and a paper template with your vacuum purchase, but you’ll need some basic household or DIY tools to complete the job. This setup is designed for drywall or wood-stud walls, and the process usually takes 20-45 minutes depending on your experience level.
Here’s a breakdown of everything you’ll need:
| Item | Quantity | Specifications |
|---|---|---|
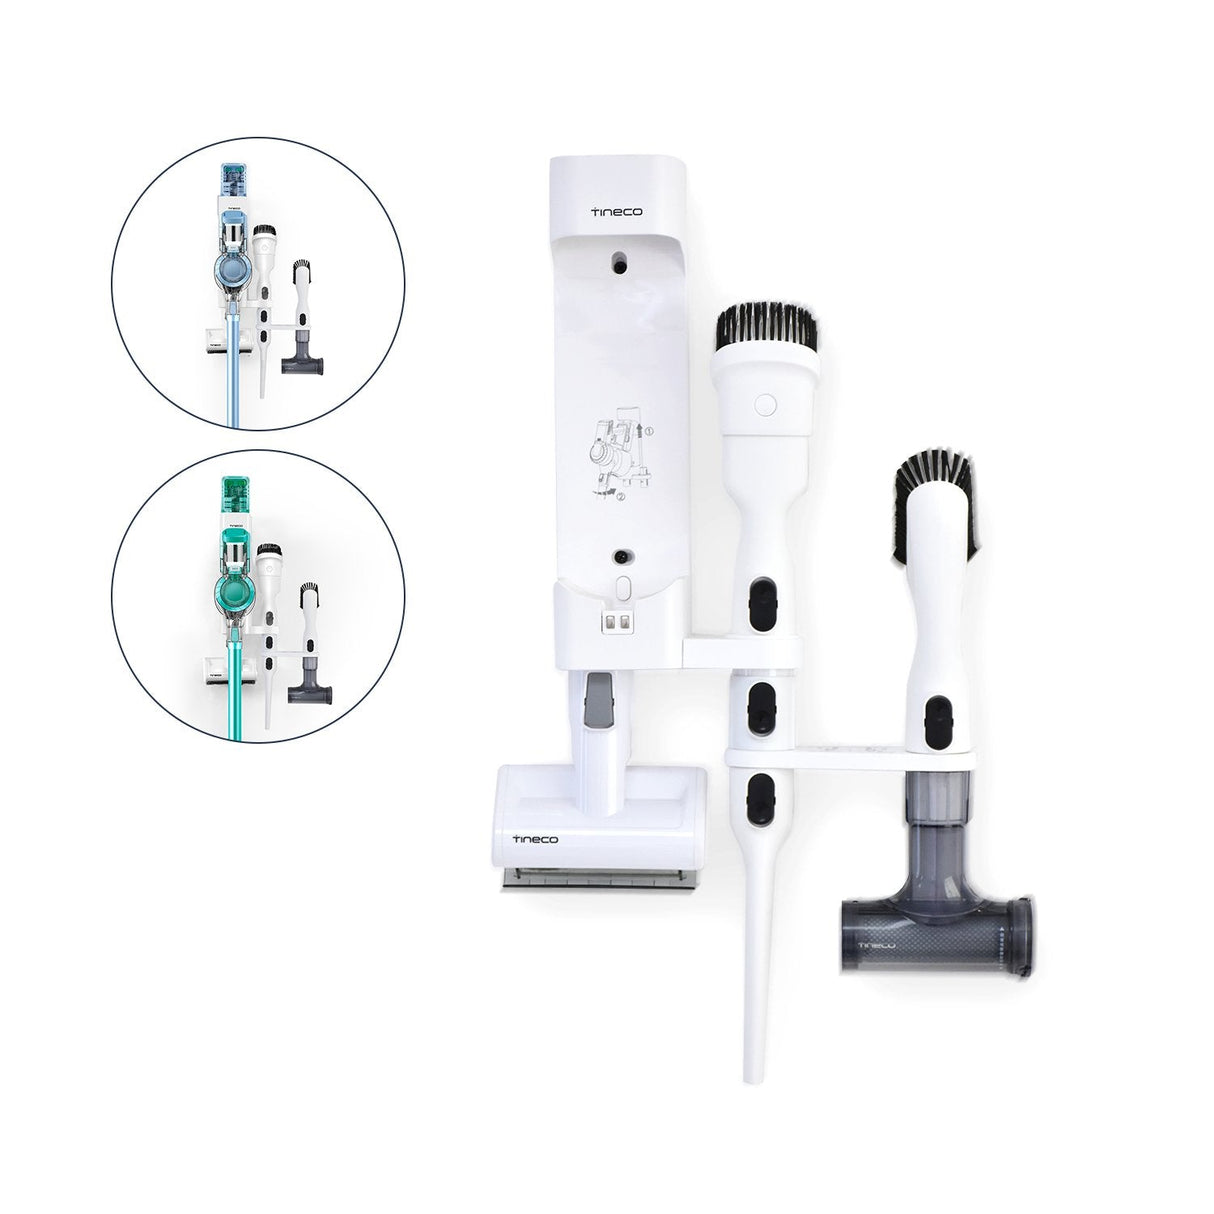
| Tineco Wall Mount Kit | 1 | Includes bracket, mounting screws (usually 2-4), plastic anchors (for non-stud walls), and template; compatible with models like Tineco Pure One S11, iFloor 3, or Floor One S5 |
| Power Drill | 1 | Cordless with a 1/8-inch or 3/16-inch drill bit (match to screw size); torque set to low to avoid wall damage |
| Stud Finder | 1 | Electronic or magnetic; essential for locating wall studs to ensure stability |
| Level | 1 | 24-inch bubble level or laser level for straight installation |
| Pencil or Marker | 1 | For marking drill holes using the template |
| Screwdriver | 1 | Phillips head (if not using drill for screws); or use drill’s screwdriver bit |
| Tape Measure | 1 | For measuring stud spacing (studs are typically 16 inches apart) |
| Wall Anchors (Extra) | 4-6 | Toggle or molly bolts if your wall lacks studs; rated for 20-50 lbs (Tineco mounts hold up to 10-15 lbs) |
| Safety Gear | As needed | Gloves and safety glasses to protect against dust and debris |
Pro Tip: If your Tineco model came without a mount, you can purchase official replacements from Tineco’s website or Amazon for around $20-30. Always check your model’s manual for specific compatibility—most cordless stick vacuums like the S12 or A10 series use the same universal mount design.
Preparing for Your Tineco Wall Mount Installation
Proper preparation is key to a hassle-free Tineco wall mount installation and prevents costly mistakes like drilling into pipes or electrical wires. Start by choosing the ideal location: aim for a spot near an outlet for easy charging (Tineco mounts often double as charging stations) and at least 5-6 feet off the ground to keep the vacuum out of reach from kids or pets. Avoid areas with high moisture, like bathrooms, or directly above furniture that could get bumped.
Safety Considerations
Safety first—working with power tools means taking precautions to avoid injury or wall damage. Turn off power to the area if you’re near outlets (use a circuit breaker), and cover the floor below with a drop cloth to catch dust. If you’re renting, get landlord approval, as drilling creates permanent holes. For load-bearing concerns, Tineco wall mounts are lightweight (under 2 lbs empty), but always secure to a stud for the vacuum’s 5-10 lb weight.
Locating the Best Spot
- Use your stud finder to scan the wall horizontally at knee height, marking stud centers every 16 inches (standard spacing). Studs provide the strongest hold—drywall alone won’t support the weight long-term.
- Hold the Tineco template (or bracket) against the wall at your desired height. Ensure at least 12 inches clearance above for the vacuum’s height (most models are 40-45 inches tall when docked).
- Double-check for obstacles: Scan with a flashlight or use a wire detector app on your phone to avoid hidden wiring or plumbing.
If your wall is concrete or masonry (common in garages), you’ll need masonry bits and anchors—skip to the troubleshooting section for adaptations. Preparation time: about 10 minutes. This step ensures your mount is level and secure, reducing wobble or falls later.
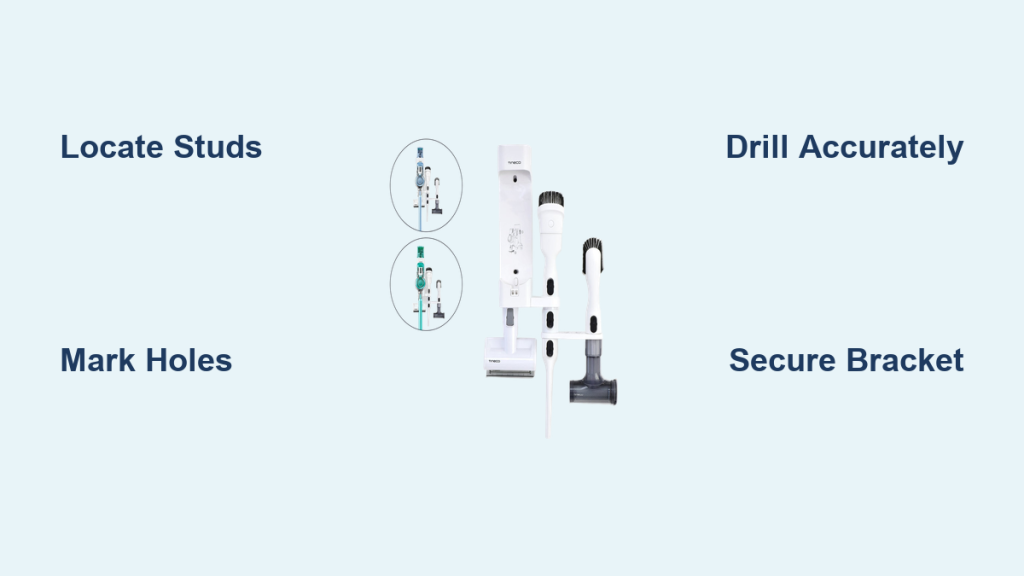
Step-by-Step Tineco Wall Mount Installation Process
Now for the main event: the actual Tineco wall mount installation. We’ll break it into phases for clarity, using the included template for precision. Work slowly, and stop if you hit resistance that feels like metal (could be wiring). The entire process should take 20-30 minutes.
Phase 1: Marking and Drilling
This phase sets the foundation—accuracy here prevents crooked mounts.
- Tape the Tineco template to the wall at your marked height, aligning it with a stud center. Use the level to ensure it’s straight horizontally.
- Mark the screw holes with a pencil through the template’s dots—typically two holes spaced 4-6 inches apart.
- Remove the template. If mounting to a stud, drill pilot holes 1/2-inch deep using a bit slightly smaller than your screws (e.g., 1/8-inch for #8 screws).
- For non-stud walls, insert plastic anchors first: Drill holes to the anchor depth (usually 1-1.5 inches), tap anchors in with a hammer, then proceed.
Warning: Wear safety glasses—drilling creates fine dust that can irritate eyes. If you miss the stud, don’t force it; reposition for stability.
Phase 2: Attaching the Bracket
With holes ready, secure the mount firmly.
- Align the Tineco wall mount bracket over the marked holes.
- Insert screws through the bracket into the holes (or anchors). Use your drill on low speed or a screwdriver to tighten—snug but not overtightened to avoid stripping.
- Check level again: Place the level on the bracket’s top edge and adjust if needed by loosening and re-tightening screws.
- For added security on heavier models like the Tineco Floor One S7, add a third screw if your kit allows, or use toggle bolts for extra hold.
Time for this phase: 5-10 minutes. The bracket should feel rock-solid—no play when you tug on it.
Phase 3: Hanging and Securing the Vacuum
Test it out and finalize.
- Locate the hook or slot on your Tineco vacuum’s base (usually at the bottom or handle end).
- Gently lift and hook the vacuum onto the mount. It should click or lock in place—listen for a secure snap.
- Plug in the charging cable if your mount includes a dock; Tineco models like the Pure One often have built-in cord management.
Important: Give it a gentle shake to ensure it doesn’t tip. If it wobbles, revisit drilling for better alignment.
Post-Completion Testing and Troubleshooting

Once installed, test your Tineco wall mount thoroughly to confirm it’s ready for daily use. Hang the vacuum and apply moderate pressure (as if removing it quickly) to check stability—it shouldn’t shift more than 1/8 inch. Plug in and verify charging: The LED should light up within 10 seconds, indicating a full cycle of 3-4 hours for most models.
If issues arise, troubleshoot systematically:
- Mount Feels Loose: Re-drill into a stud or upgrade to heavy-duty anchors (e.g., EZ anchors rated for 50 lbs). Cost: $5-10 at hardware stores.
- Not Level: Loosen screws, use shims (thin cardboard wedges) behind the bracket, and re-level.
- Vacuum Won’t Stay Put: Clean the hook slot on the vacuum with a soft cloth—dust buildup can prevent locking. For older models, check for wear and consider Tineco’s replacement parts.
- Wall Damage: If you over-drill, patch with spackle and repaint. For concrete walls, switch to masonry screws (1/4-inch) and a hammer drill.
Common complications include uneven walls (use a stud finder app like Stud Finder+ for precision) or multi-layer drywall (drill deeper). If charging fails post-install, test the outlet separately. Most problems are fixed in 5-10 minutes with basic adjustments.
Pro Tips for Tineco Wall Mount Success
To elevate your Tineco wall mount installation from good to great, here are expert insights that go beyond the basics:
- Optimize Placement for Workflow: Mount near your cleaning path, like the entryway or laundry room, to minimize cord tangles. For multi-story homes, install one per floor to avoid carrying the vacuum up stairs.
- Avoid Common Mistakes: Don’t skip the stud finder—drywall-only installs fail over time, leading to crashes. Also, never overtighten screws; it can crack the bracket’s plastic.
- Enhance Durability: Apply thread-locking compound (like Loctite) to screws for vibration resistance, especially in high-traffic areas. This prevents loosening from daily docking.
- Charging Hacks: If your mount lacks a built-in charger, route the cord through the bracket’s slots for a tidy look. Tineco recommends charging after every use to maintain battery health.
- Customization Ideas: Paint the bracket to match your wall for a seamless aesthetic, or add LED strips underneath for a modern garage vibe.
- Maintenance Routine: Wipe the mount monthly with a damp cloth to prevent dust buildup, which can affect vacuum grip. Check screws quarterly for tightness.
- Eco-Friendly Twist: Choose mounts with recycled materials if upgrading—Tineco’s kits are lightweight to reduce plastic use.
These tips can extend your setup’s life by years and make it more user-friendly.
When to Call a Professional for Tineco Wall Mount Help
While most Tineco wall mount installations are DIY-friendly, some situations call for expert help to avoid risks. Signs include: walls made of plaster, tile, or metal (harder to drill); if you’re uncomfortable with power tools; or structural concerns like load-bearing walls. For instance, if your home has lath-and-plaster walls (common in pre-1950s builds), pros use specialized anchors to prevent crumbling.
Look for a handyman or electrician via apps like TaskRabbit or Angi, with reviews mentioning “wall mounting” experience. Expect costs of $50-150, depending on location and complexity (e.g., $75 for a basic install). Check your Tineco warranty—DIY installs won’t void it unless damage occurs, but pros can provide documentation. If it’s a rental or historic home, a professional ensures compliance with building codes.
FAQ
Q: Is the Tineco wall mount compatible with all models?
A: Most cordless Tineco vacuums, like the Pure One S11-S15 series, iFloor 2-3, and Floor One S3-S7, use the same universal wall mount design with a hook-and-slot system. However, older models like the A10 may need adapters—check Tineco’s compatibility chart on their site or measure your vacuum’s base (typically 1-2 inches wide slot). If unsure, contact Tineco support for free verification.
Q: Can I install the Tineco wall mount on a concrete wall?
A: Yes, but you’ll need a masonry drill bit (carbide-tipped, 5/16-inch) and concrete anchors like sleeve anchors. Drill slowly to avoid cracking, and use a hammer to set anchors. The process adds 10-15 minutes; for best results, hire a pro if you’re new to masonry work.
Q: How much weight can the Tineco wall mount hold?
A: Official specs rate it for 10-15 lbs, covering the vacuum plus attachments. Always mount to studs for max strength—tests from user forums like Reddit’s r/VacuumCleaners confirm it handles daily use without sagging.
Q: What if I don’t have a stud near my ideal spot?
A: Use heavy-duty drywall anchors like toggle bolts, which expand behind the wall for 50+ lb support. Insert them per instructions, then screw in the bracket. Avoid cheap plastic ones; opt for brands like E-Z Ancor for reliability.
Q: Does installing the wall mount void my Tineco warranty?
A: No, as long as you follow the manual’s guidelines. Tineco encourages wall mounting for storage. Keep your receipt and note the install date—if issues arise, their 2-year warranty covers defects unrelated to installation.
Q: How do I remove the vacuum safely from the mount?
A: Press the release button (usually on the handle or base) and lift straight up at a 45-degree angle. Avoid yanking sideways to prevent wall stress. For charged models, unplug first to avoid sparks.
Q: Can I use a third-party wall mount for Tineco?
A: Yes, universal vacuum mounts from brands like Windex or Eufy work if they match the slot size, but stick to official Tineco for perfect fit and charging integration. Third-party options cost $15-25 but may lack durability.
Alternative Solutions to Tineco Wall Mount
If a permanent wall mount isn’t feasible (e.g., in a rental or apartment), consider these alternatives for storing your Tineco vacuum:
| Solution | Pros | Cons | Best For |
|---|---|---|---|
| Freestanding Charging Dock | Portable, no drilling; includes cord organizer | Takes floor space; less secure against tipping | Renters or small spaces |
| Over-the-Door Hook | Easy install with no tools; adjustable height | Limited weight (5-10 lbs); visible clutter | Quick setups without commitment |
| Closet Rod Hanger | Uses existing space; holds attachments too | Requires closet access; not ideal for charging | Organized homes with storage rooms |
| Wall-Mounted Shelf | Extra storage for tools; customizable | Higher cost ($30-50); more complex install | Users wanting multi-purpose solutions |
Freestanding docks like Tineco’s optional stand ($40) are the closest match, offering similar charging without walls. Weigh pros like ease against cons like space use—wall mounts win for permanence but alternatives suit temporary needs.
Enjoy Your New Tineco Storage Solution
With this guide, you’ve got everything to master Tineco wall mount installation and reclaim your space:
– Essential tools and materials for a secure setup
– Step-by-step phases from marking to testing
– Troubleshooting for common hiccups like loose fits
Following these instructions ensures a stable, professional result that keeps your vacuum charged and ready. Don’t let clutter slow you down—install today and notice the difference in your cleaning efficiency.
Have you installed your Tineco wall mount yet? Share your tips or any challenges in the comments below to help fellow readers. If this guide saved you time, bookmark it for future reference!
(Word count: 1,548)