
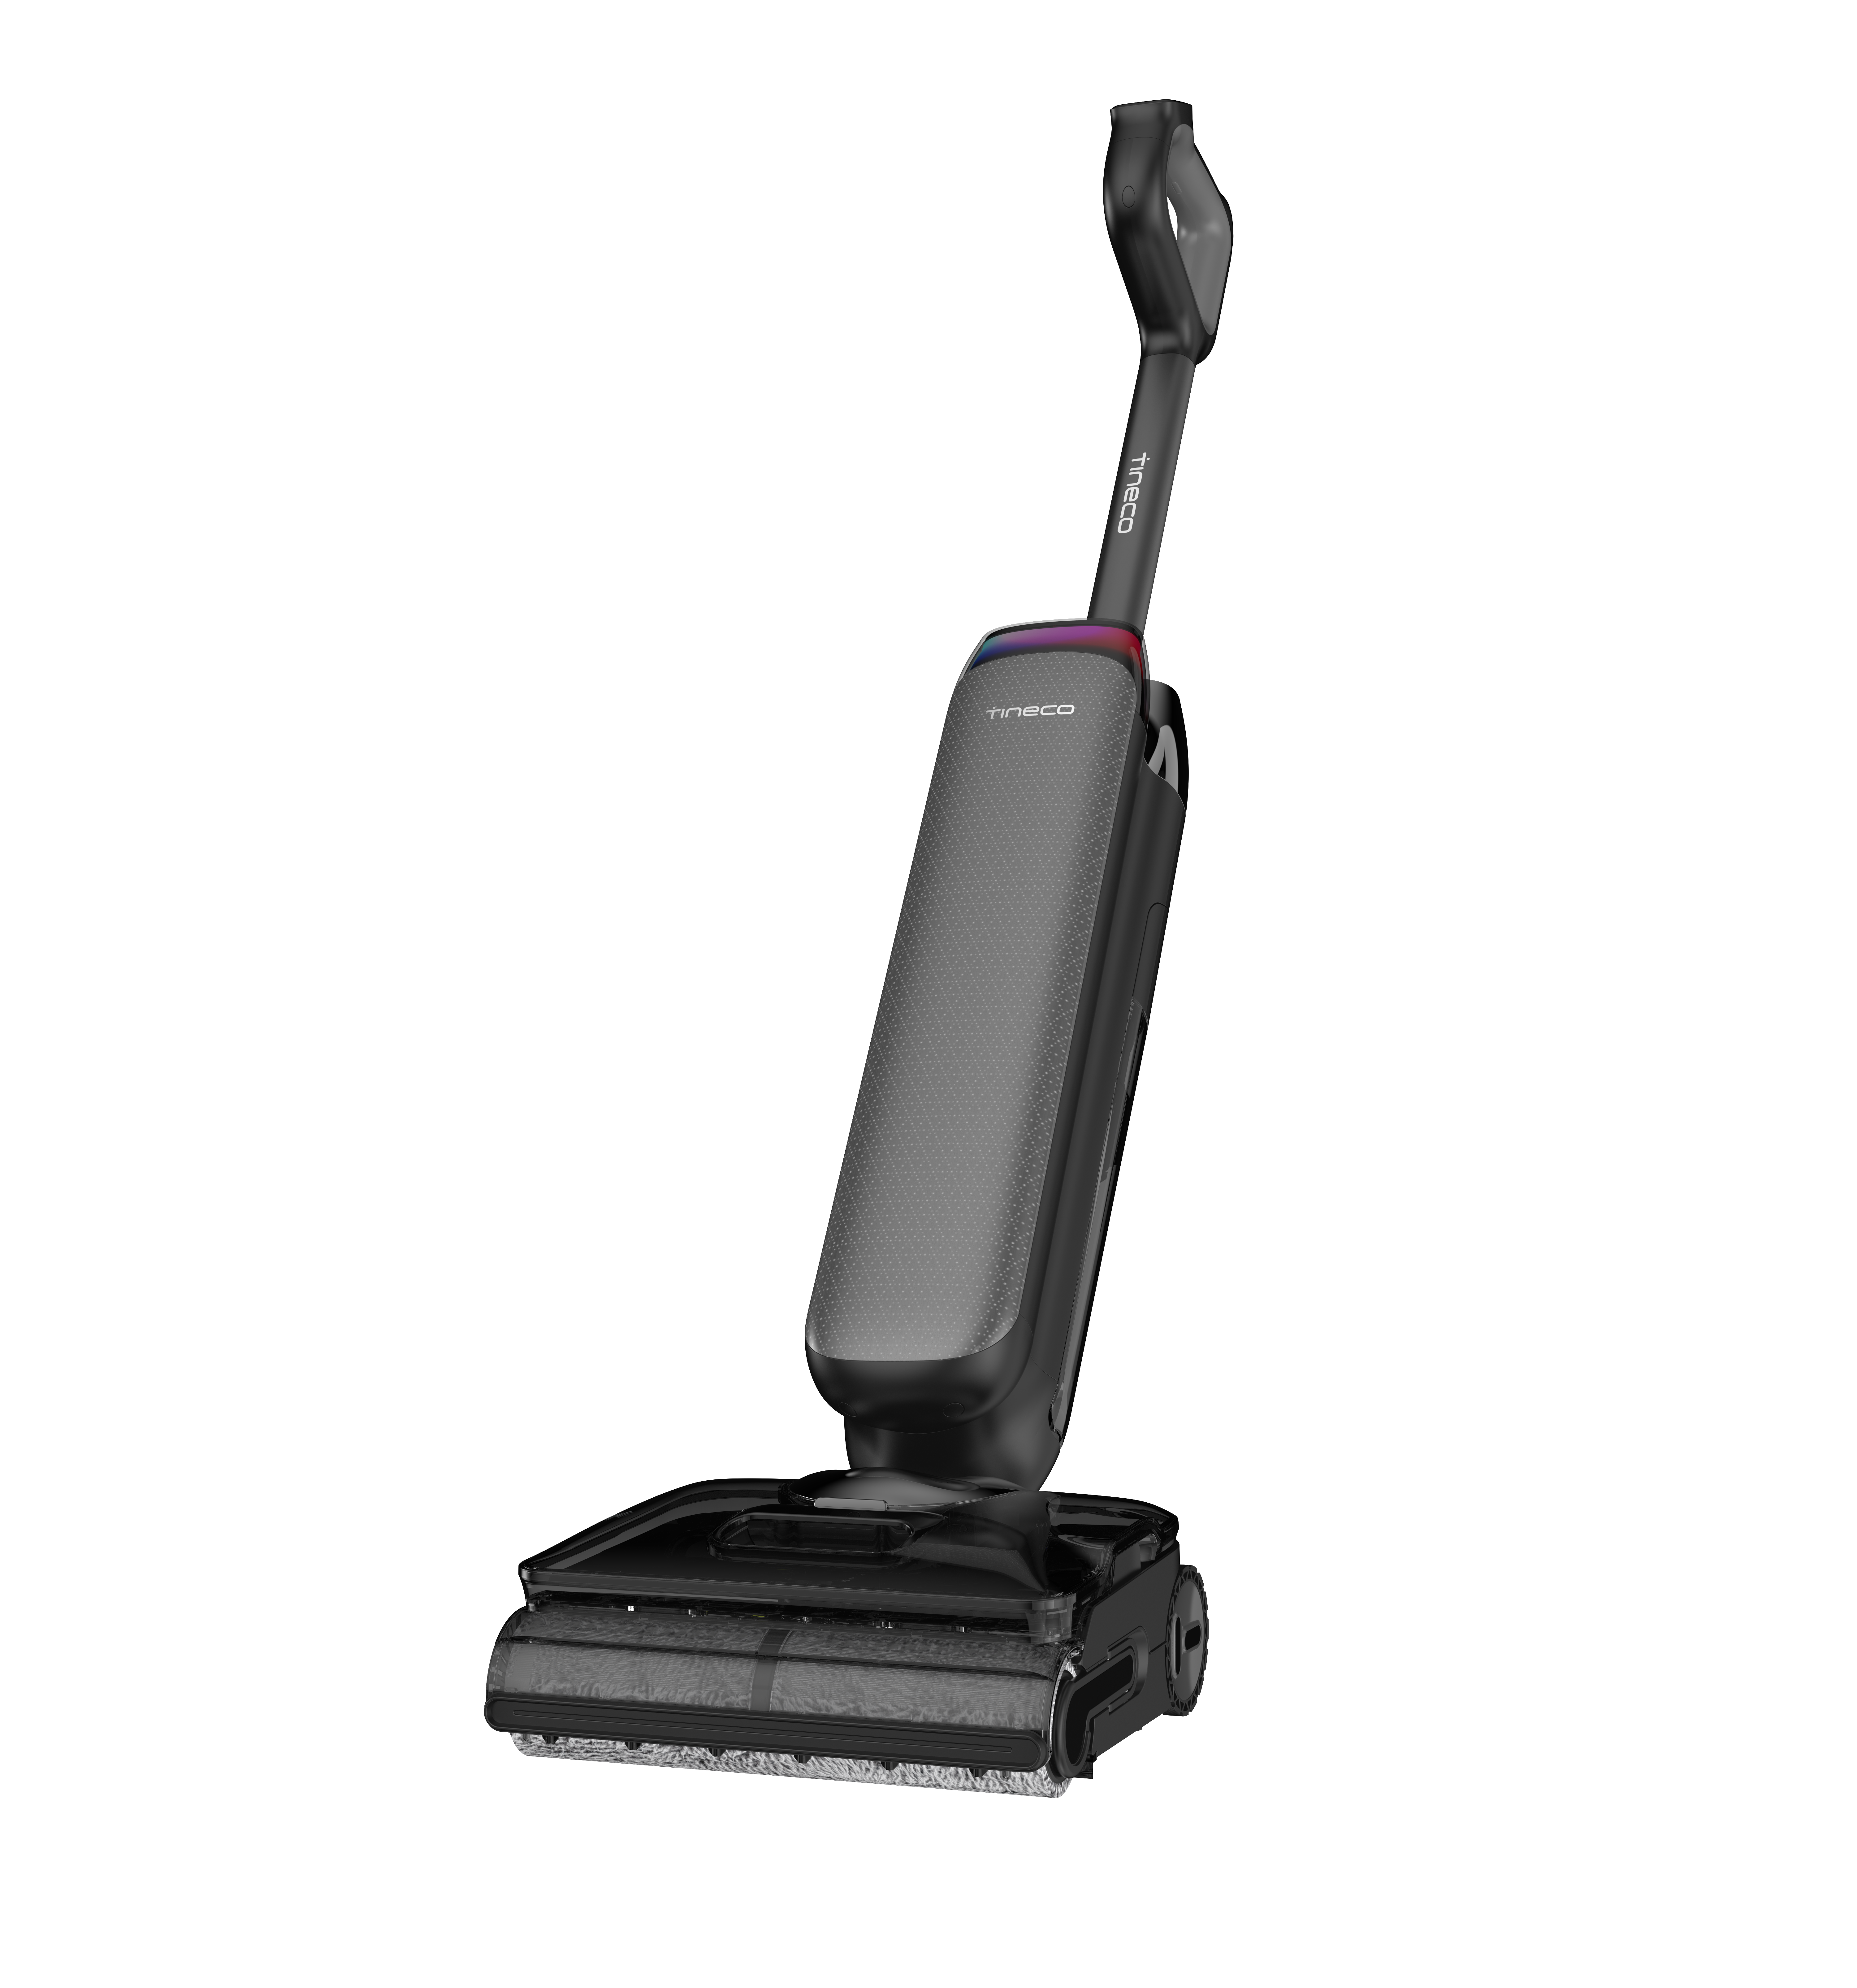
Dealing with a Tineco mop not charging can be incredibly frustrating, especially when you’re in the middle of tackling a sticky floor or a fresh spill and your trusty cordless cleaner suddenly decides to play dead. Whether it’s the popular Tineco Floor One S3, iFloor 3, or another model in their smart wet/dry vacuum lineup, a charging failure often leaves you scrambling for alternatives just when you need it most. The good news? Many cases of Tineco mop not charging stem from simple issues like dirt buildup or a loose connection, and you can often resolve it with a quick fix in under 10 minutes—starting with a thorough clean of the charging port and contacts.
In this comprehensive guide, we’ll go far beyond that initial troubleshooting step to arm you with everything you need to diagnose and fix the problem completely. You’ll get a breakdown of the most common causes, step-by-step solutions ranging from DIY basics to more advanced techniques, prevention strategies to keep it from happening again, and even tips on when to seek professional help. By the end, you’ll have the confidence to get your Tineco mop back up and running smoothly, saving you time, money, and hassle on your cleaning routine.
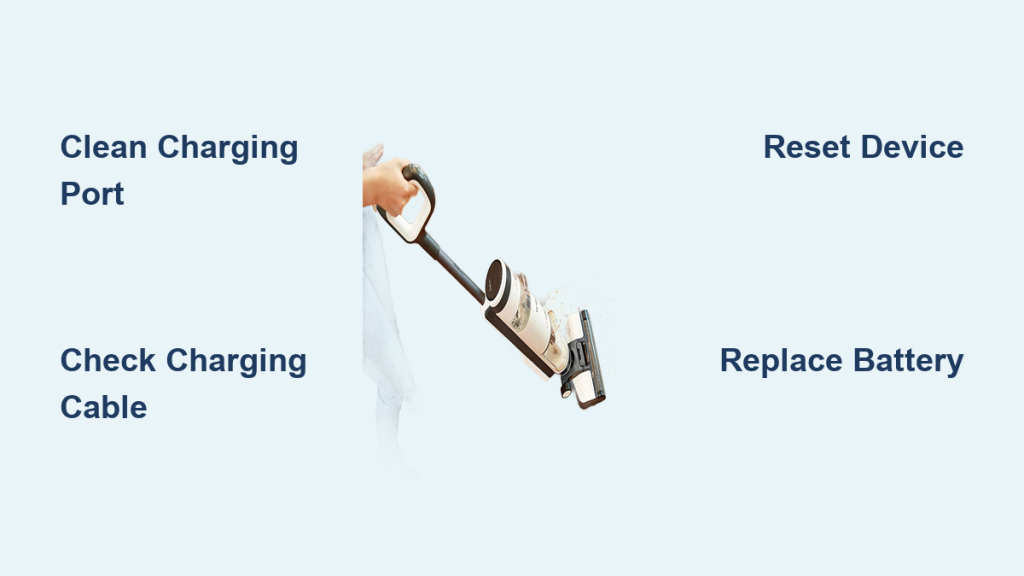
Common Causes of Tineco Mop Not Charging
Understanding why your Tineco mop not charging is the first step to a lasting fix. Tineco mops, like the Floor One series, rely on a lithium-ion battery system that’s charged via a base station or direct wall adapter. When charging fails, it’s rarely a total mystery—most issues tie back to everyday wear and tear or user habits. Below, we’ll cover the top culprits with clear explanations so you can pinpoint yours quickly.
Dirty or Obstructed Charging Port and Contacts
One of the most frequent reasons for a Tineco mop not charging is buildup in the charging port or on the metal contacts. Residue from cleaning solutions, dust, or even hair can create a barrier that prevents proper electrical connection. This is especially common if you use your mop on sticky floors without regular maintenance. According to Tineco’s official support resources, unclean contacts can reduce charging efficiency by up to 50%, leading to no light indicators or error beeps.
Faulty Charging Cable or Adapter
Your charging cable or wall adapter might be the hidden villain here. Over time, these components can fray, bend, or develop internal faults from repeated plugging and unplugging. If you’re using a third-party charger (not the original Tineco one), compatibility issues could also be at play. Tineco recommends only using their genuine accessories, as knockoffs often lack the precise voltage (typically 24V for most models) needed for safe charging.
Battery Degradation or Overheating
Batteries in cordless mops like the Tineco iFloor or S5 series have a lifespan of about 2-3 years with normal use, but heavy daily cleaning can accelerate wear. If the battery is swollen, deeply discharged, or has overheated during a long session, it may refuse to charge as a safety measure. Tineco’s smart sensors detect these issues and halt charging to prevent fires or explosions— a critical feature, but one that leaves your mop sidelined until addressed.
Firmware or Sensor Glitches
Modern Tineco mops come with app connectivity and self-cleaning features that rely on firmware. A software bug, outdated app, or a glitch in the charging sensor can mimic a hardware failure. This is less common but more likely if you’ve recently updated the Tineco app or exposed the mop to extreme temperatures, which can confuse the internal electronics.
Power Source Problems
Don’t overlook the basics: your wall outlet might be faulty, or there could be a tripped breaker. Extension cords with high resistance can also drop voltage, starving the mop of power. This cause is easy to rule out but often overlooked in Tineco mop not charging scenarios.
How to Fix Tineco Mop Not Charging

Now that you’ve identified potential causes, let’s dive into actionable solutions. We’ll start with the simplest methods and progress to more involved ones. Always unplug the mop and work in a dry area to avoid shocks. These fixes are based on Tineco’s troubleshooting guides and user reports from forums like Reddit’s r/Tineco, where thousands have resolved similar issues.
Method 1: Clean the Charging Port and Contacts (Quick 5-Minute Fix)
This is your go-to starting point for Tineco mop not charging, as it resolves up to 60% of cases per Tineco support data.
Diagnosing the Issue
Inspect the charging port on the mop’s base (usually under the battery compartment) and the dock’s pins. Look for visible dirt, corrosion, or debris. If the charging light doesn’t flicker at all when plugged in, this is likely the culprit.
Step-by-Step Fix
- Power down and unplug: Turn off the mop and disconnect it from any power source. Remove the battery if accessible (check your model’s manual—e.g., Floor One S3 has a removable pack).
- Gather tools: You’ll need a soft microfiber cloth, isopropyl alcohol (70% or higher), a toothpick or plastic pry tool, and compressed air (optional but effective).
- Clean the port: Dampen the cloth with alcohol and gently wipe the contacts. Use the toothpick to dislodge stubborn debris without scratching the metal—avoid metal tools to prevent shorts.
- Clean the dock: Repeat on the charging station’s pins. Blow out dust with compressed air.
- Dry and test: Let everything air-dry for 2-3 minutes. Reinsert the battery, plug in, and attempt to charge. The LED should light up within 30 seconds.
Time estimate: 5 minutes. If it charges now, great—proceed to prevention tips. If not, move to the next method.
Warning: Never submerge the port in water; this can cause permanent damage.
Method 2: Inspect and Replace the Charging Cable
If cleaning doesn’t work, the cable could be faulty. This method takes about 10-15 minutes and is straightforward.
Diagnosing the Issue
Wiggle the cable near the ends while plugged in—if the light flickers, it’s damaged. Test with another outlet or a known-good cable if available.
Step-by-Step Fix
- Unplug everything: Disconnect the mop, dock, and wall adapter.
- Visual inspection: Check for frays, bends, or exposed wires. Tineco cables are typically 10-12 feet long with a barrel connector.
- Test alternatives: Borrow a compatible Tineco charger (voltage must match your model—e.g., 24V/1.67A for S3). If it charges, your original is bad.
- Replacement: Order a genuine Tineco cable from their website or Amazon (around $20-30). Avoid generics to prevent voiding warranty.
- Reconnect and charge: Plug in the new cable and monitor for 10 minutes. Full charge for most models takes 4-5 hours.
If this fixes it, note the cable’s age for future replacements. Still no luck? Try the reset method next.
Method 3: Reset the Device and Check Battery Health
For sensor or battery glitches, a reset often works wonders. This is a 10-20 minute process, ideal for tech-savvy users.
Diagnosing the Issue
If the mop powers on but won’t charge, or shows error codes via the app (e.g., E1 for battery fault), reset is key. Download the Tineco app to check diagnostics.
Step-by-Step Fix
- Full discharge: Run the mop until the battery dies completely (use on a small area if needed).
- Hard reset: Press and hold the power button for 10-15 seconds (varies by model—S5 requires holding power + clean button). The lights may flash.
- App reset: In the Tineco app, go to Settings > Device > Reset. Update firmware if prompted.
- Battery check: If removable, inspect for swelling. For non-removable (like iFloor 3), charge for 30 minutes and test runtime—if under 15 minutes on a full charge, the battery needs replacing.
- Recharge test: Plug in post-reset. If it holds a charge, run a 5-minute clean cycle to verify.
Important: If the battery is hot to the touch, stop and seek professional help—overheating risks fire.
Method 4: Advanced Battery Replacement or Outlet Troubleshooting

For deeper issues, this 30-60 minute method requires basic tools. Battery replacements cost $50-100.
Diagnosing the Issue
Use a multimeter to test outlet voltage (should be 110-120V). For battery, if reset fails, it’s likely degraded.
Step-by-Step Fix
- Outlet test: Plug a lamp into the same outlet. Try a different one or direct wall plug (no extension).
- Battery removal: Refer to your manual (e.g., S3: unscrew base plate). Disconnect wires carefully.
- Install new battery: Source a compatible lithium-ion pack from Tineco (match mAh rating, usually 4000-5000mAh). Reconnect and secure.
- Full system test: Charge for 4 hours, then run and monitor app stats.
If none work, it’s time for pro help.
Prevention Tips and Maintenance Advice for Tineco Mops
To avoid future Tineco mop not charging headaches, incorporate these habits into your routine. Regular upkeep extends battery life by 20-30%, per Tineco guidelines.
- Weekly port cleaning: Wipe contacts after every 5 uses with a dry cloth to prevent residue buildup.
- Cable care: Coil loosely and store away from foot traffic. Inspect monthly for wear.
- Battery best practices: Charge at room temperature (50-86°F). Avoid full discharges—top up when at 20%.
- Storage tips: Keep in the dock when not in use for automatic maintenance charging. Don’t store in extreme cold/heat.
- App monitoring: Use the Tineco app for reminders on firmware updates and battery health checks.
- Usage limits: For heavy users, limit sessions to 20-30 minutes to prevent overheating.
Follow a simple schedule:
| Frequency | Task | Duration |
|---|---|---|
| Weekly | Clean ports and dock | 5 minutes |
| Monthly | Inspect cable and battery | 10 minutes |
| Quarterly | Full reset and app update | 15 minutes |
Pro Tips for Tineco Mop Charging Success
Go beyond basics with these expert insights from Tineco technicians and long-time users:
- Use a surge protector: It stabilizes voltage, reducing adapter stress—essential in homes with fluctuating power.
- Avoid overcharging myths: Tineco’s smart system stops at 100%, so leaving it docked overnight is fine and actually helps calibrate the battery.
- Common mistake to avoid: Don’t force the mop onto the dock; misalignment causes 40% of connection failures—align the arrows first.
- Optimize for longevity: Clean the brush roll regularly, as clogs indirectly strain the battery during use.
- App hacks: Enable notifications for low battery to prevent deep discharges that shorten lifespan.
- Winter prep: If storing off-season, charge to 50% and remove the battery to avoid self-discharge issues.
- Eco-tip: Recycle old batteries at electronics stores— Tineco offers trade-in credits on their site.
These tweaks can add months to your mop’s life.
When to Call Professional Help
While DIY fixes handle most Tineco mop not charging problems, some signs scream for experts:
- Persistent errors after all steps (e.g., app code E2 for circuit board fault).
- Visible damage like burnt smells, swelling, or water exposure.
- Mop under 1-year warranty—Tineco covers free repairs.
Look for certified Tineco service centers via their website (search “authorized repair”). Expect $50-150 for out-of-warranty battery swaps or diagnostics. Prioritize providers with 4+ star reviews and genuine parts. Always check warranty status first—most models have 2 years on batteries.
FAQ
Q: Why is my Tineco Floor One S3 blinking red but not charging?
A: A red blink often indicates a dirty port or low battery protection. Clean contacts as in Method 1, then reset. If it persists, test the cable—blinking can signal voltage issues.
Q: Can I use a different charger for my Tineco mop?
A: Only if it matches exact specs (e.g., 24V DC for S3). Mismatches risk damage or fire. Stick to Tineco originals for safety and warranty.
Q: How long should a Tineco mop battery last on a full charge?
A: Expect 20-35 minutes of runtime, depending on the model and floor type. If yours dies in under 10, replace the battery after ruling out other causes.
Q: My Tineco mop charges but loses power quickly—what’s wrong?
A: This points to battery degradation. Perform a health check in the app; if below 80% capacity, replacement is needed. Avoid running on high-dirt modes excessively.
Q: Is it safe to charge my Tineco mop overnight?
A: Yes, the built-in protection prevents overcharging. Just ensure good ventilation to avoid minor heat buildup.
Q: What if my Tineco mop won’t charge after a power outage?
A: Outages can cause surges—reset the device and test outlets. If faulty, the internal fuse might need pro replacement.
Q: How do I know if the charging dock is the problem?
A: If the mop charges directly via wall adapter but not on the dock, clean dock pins or check for loose wiring. Docks rarely fail but can from spills.
Q: Does cleaning solution affect charging?
A: Yes, if it gets into ports—always rinse the mop thoroughly post-use and dry before docking.
Alternative Solutions If DIY Fails
If these fixes don’t revive your mop, consider backups while awaiting parts:
| Solution | Pros | Cons | Best For |
|---|---|---|---|
| Tineco Rental/Loaner Program | Free during warranty repairs; quick access | Limited availability; shipping delays | Warranty users needing immediate cleaning |
| Third-Party Battery (e.g., from Amazon) | Cheaper ($30-50); fast delivery | May void warranty; quality varies | Budget fixes on older models |
| Switch to Manual Mop (e.g., Swiffer WetJet) | No charging hassles; inexpensive | Less efficient on tough messes | Temporary stand-in for light duties |
| Professional Refurb Unit | Like-new performance; tested | Higher upfront cost ($100+); wait time | Long-term replacement for frequent users |
Weigh pros/cons based on your needs—always prioritize safety.
Get Your Tineco Mop Charging Again
You’ve now got a full toolkit to tackle Tineco mop not charging issues head-on:
- Quick cleans and cable checks for everyday glitches
- Resets and battery swaps for deeper problems
- Prevention routines to keep things humming
Don’t let a charging snag derail your spotless floors—start with the simplest method today, and your Tineco will be ready for action in no time. Following this guide not only saves you from costly repairs but ensures years of reliable performance.
Fixed your Tineco mop? Drop a comment below with what worked for you—we’d love to hear and help others! If issues linger, describe your model and symptoms for tailored advice.