
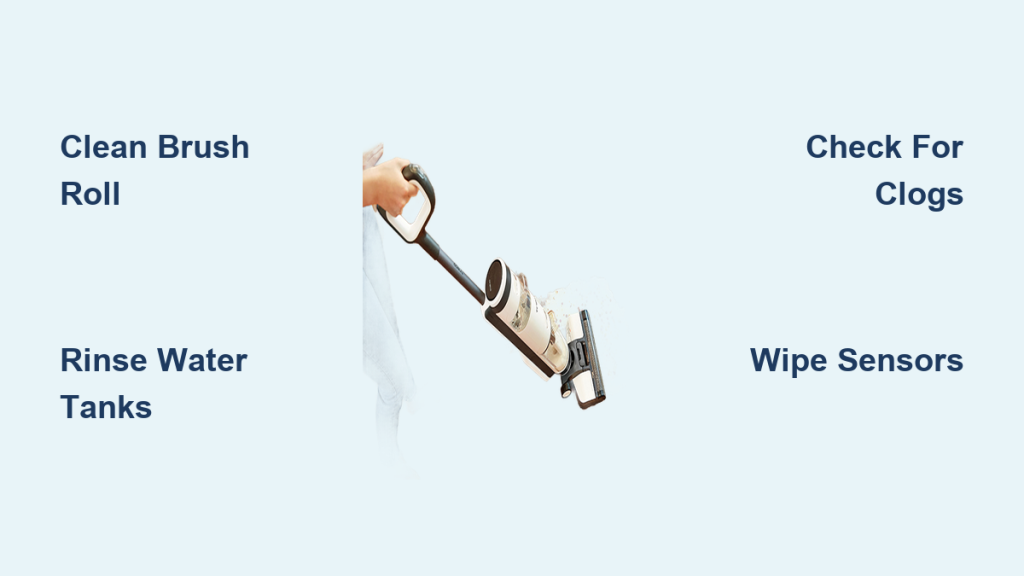
If you’ve been using your Tineco iFloor 3 to tackle sticky spills and everyday messes on hard floors, you know how quickly it can pick up grime and debris. But when that reliable cordless floor washer starts leaving streaks or loses suction, it might be time for a deep clean. Frustrating, right? The good news is that learning how to clean Tineco iFloor 3 is straightforward and can restore its performance in under 30 minutes with a quick rinse of the dirty water tank and brush roll.
In this comprehensive guide, we’ll go beyond the basics to cover everything from daily wipe-downs to thorough disassembly and maintenance routines. You’ll get step-by-step instructions, a cleaning schedule, pro tips to extend its lifespan, and troubleshooting for common issues. By the end, you’ll feel confident keeping your Tineco iFloor 3 in top shape, saving you money on repairs and ensuring spotless floors every time.
Why Regular Maintenance is Essential for Your Tineco iFloor 3
The Tineco iFloor 3 is a game-changer for quick cleanups, combining vacuuming and mopping in one pass thanks to its self-cleaning mode and iLoop sensor. However, like any appliance that handles wet and dry debris, it can accumulate hair, dirt, and bacteria if not maintained. Neglecting how to clean Tineco iFloor 3 regularly leads to reduced suction, unpleasant odors, and even motor strain, potentially shortening its 2-3 year lifespan.
Regular cleaning prevents clogs in the brush roll and water tanks, maintains the edge-cleaning design’s effectiveness, and keeps the lithium-ion battery performing optimally. According to Tineco’s official guidelines, consistent upkeep can improve cleaning efficiency by up to 50% and reduce the risk of warranty-voiding damage. Plus, it ensures hygienic floors by removing buildup that could harbor allergens or mold in the dirty water tank.
Recommended Frequency and Timing for Tineco iFloor 3 Cleaning
To keep your Tineco iFloor 3 running smoothly, follow a structured schedule based on usage. Light users (once a week) can stick to basics, while heavy users (daily) need more frequent attention. Timing it right—after each use or at the end of cleaning sessions—prevents residue from drying and hardening.
Here’s a simple maintenance schedule table to guide you:
| Frequency | Task | Duration |
|---|---|---|
| After Every Use | Empty dirty water tank, rinse brush roll, and wipe exterior | 5-10 minutes |
| Weekly | Deep clean water tanks, self-clean cycle, and check for clogs | 15-20 minutes |
| Monthly | Disassemble and clean roller brush, filters, and charging contacts | 20-30 minutes |
| Every 3-6 Months | Inspect seals, replace worn parts like brushes if needed | 30-45 minutes |
Adjust based on your home’s mess level—pet owners or families with kids might need to clean twice weekly. Always unplug the device before starting, and use lukewarm water to avoid damaging plastic components.
Complete Cleaning Process for Tineco iFloor 3

Cleaning your Tineco iFloor 3 involves both quick post-use rinses and deeper maintenance. We’ll break it down into major steps, focusing on safety and efficiency. These instructions are tailored for the iFloor 3 model (Breeze or Complete variants), but check your manual for slight variations.
Step 1: Post-Use Quick Clean
This is your first line of defense against buildup and takes just minutes right after vacuuming.
-
Power off and empty the dirty water tank: Press the tank release button on the back and remove it. Pour out dirty water into a sink or toilet—avoid drains if it’s heavily soiled to prevent clogs. Rinse the tank under running water, using a soft brush for stubborn residue. Important: Never submerge the entire unit; water damage isn’t covered under warranty.
-
Rinse the clean water tank: Detach it from the top of the unit. Empty any remaining solution, rinse thoroughly, and refill with fresh water for the next use. Add Tineco’s cleaning solution if recommended, but plain water works for basic rinses.
-
Wipe the exterior and brush roll: Use a damp microfiber cloth to clean the body, wheels, and edge. For the brush roll, press the foot pedal to release it, then rinse under water while rotating to remove hair and debris. Let it air dry for 10-15 minutes before reassembling.
Warning: Avoid using harsh chemicals like bleach, as they can degrade seals and cause leaks.
Step 2: Weekly Deep Clean and Self-Clean Mode
For a more thorough refresh, leverage the iFloor 3’s built-in features.
-
Run the self-clean cycle: Fill the clean water tank with lukewarm water (no solution needed here). Place the unit over a drain or tub, press the self-clean button on the handle, and let it run for 1-2 minutes. This flushes the internal tubes and brush—watch for any unusual noises, which could indicate a clog.
-
Clean the float and sensors: The iFloor 3 has a float in the dirty tank that triggers full-tank alerts. Remove and rinse it gently. Wipe the iLoop dirt sensor on the bottom with a soft cloth to ensure accurate detection.
-
Inspect and clean filters: The pre-motor filter is accessible via the side panel. Remove it, tap off debris over a trash bin, and rinse under water. Dry completely (about 24 hours) before reinstalling. Pro Tip: If you notice reduced suction, this filter is often the culprit.
This step should take 15 minutes and keeps the unit odor-free.
Step 3: Monthly Disassembly and Detailed Maintenance
Every month, go deeper to prevent long-term issues.
-
Disassemble the roller brush: Flip the unit over, press the tabs to remove the brush cover, and pull out the roller. Use scissors to cut away wrapped hair, then soak in warm soapy water for 5 minutes. Scrub with a non-abrasive brush and rinse. Safety Note: Wear gloves if dealing with pet hair or allergens.
-
Clean the charging base and contacts: Unplug the base, wipe with a dry cloth, and use a cotton swab dipped in isopropyl alcohol (70%) for the metal contacts. Ensure no lint buildup, as this affects battery charging.
-
Check tubes and hoses: If accessible (via the manual’s diagrams), inspect for blockages. Use a pipe cleaner or compressed air to clear debris from the suction path.
-
Reassemble and test: Snap everything back, plug in, and run a short clean cycle on a test area. Listen for smooth operation—no rattling means success.
Troubleshooting if it doesn’t work: If water isn’t draining properly after reassembly, double-check seals for cracks. Tineco recommends replacing the brush roll every 6-12 months for optimal performance.
Warning Signs That Your Tineco iFloor 3 Needs Immediate Cleaning

Don’t wait for a full breakdown—spot these red flags early:
- Reduced suction or streaky mopping: Indicates clogged brush or dirty filters. Clean immediately to avoid motor overload.
- Unusual odors: Musty smells from the tank signal bacterial growth. Run a vinegar-water self-clean (1:1 ratio) as a natural disinfectant.
- Leaking water: Check seals and tanks for cracks; stop use to prevent electrical hazards.
- iLoop sensor errors: Flashing lights mean dirty sensors—wipe them down promptly.
- Battery not holding charge: Clean contacts and ensure the unit is fully dry before charging.
Addressing these quickly can prevent costly repairs, as per user reports on Tineco’s support forums.
Pro Tips for Tineco iFloor 3 Maintenance
Go beyond the basics with these expert strategies to maximize your iFloor 3’s efficiency:
- Use distilled water: Tap water minerals can build up in tanks—distilled prevents scale and extends component life.
- Store upright and dry: After cleaning, let all parts air dry fully to avoid mold. Store in a cool, dry place away from direct sunlight.
- Avoid overfilling tanks: Stick to the max line to prevent spills during use.
- Customize cleaning solution: For tough stains, mix Tineco solution with a drop of dish soap, but rinse thoroughly afterward.
- Track usage with the app: If you have the Tineco app, monitor cleaning history to stay on schedule.
- Common mistake to avoid: Don’t run the self-clean on carpet—stick to hard floors to prevent damage.
- Optimize battery life: Charge only when the light indicates low power; overcharging shortens lifespan.
These tweaks can add months to your device’s usability and improve cleaning results on hardwood, tile, or laminate.
When to Call in Professional Help for Tineco iFloor 3
While most cleaning is DIY, some issues go beyond basic maintenance. Seek pros if:
- Persistent leaks or suction loss after full cleaning—could be internal pump failure.
- Electrical issues like sparking or failure to power on.
- Warranty-covered defects (Tineco offers 2 years; check your serial number).
Look for certified Tineco service centers via their website or authorized retailers like Amazon. Expect costs of $50-150 for diagnostics and repairs, depending on parts. Always provide your model number (iFloor 3) and purchase date. If under warranty, contact Tineco support first—they often send free replacement parts.
FAQ
Q: How often should I replace the brush roll on my Tineco iFloor 3?
A: Tineco recommends replacement every 6-12 months with heavy use, or when you notice wear like frayed edges. Genuine rolls cost about $20-30 and snap in easily. Signs include uneven cleaning or excessive vibration.
Q: Can I use vinegar to clean my Tineco iFloor 3?
A: Yes, a mild 1:1 vinegar-water solution is safe for self-clean cycles and disinfects naturally. Avoid full-strength vinegar, as it can erode seals over time. Rinse with plain water afterward.
Q: What if the dirty water tank won’t empty properly?
A: Check for clogs in the float or outlet. Remove the tank, shake gently, and rinse. If stuck, run a self-clean with warm water. Persistent issues may need tube inspection.
Q: Is the Tineco iFloor 3 safe for all hard floors?
A: Yes, for sealed hardwood, tile, vinyl, and laminate. Always test a small area first, and avoid unsealed wood to prevent warping. The adjustable water flow helps control moisture.
Q: How do I clean the iLoop sensor without damaging it?
A: Gently wipe with a microfiber cloth dampened with water—no soaps or abrasives. It’s located on the bottom; dirty sensors cause inaccurate dirt detection and inefficient cleaning.
Q: Why is my Tineco iFloor 3 not charging after cleaning?
A: Ensure contacts are dry and clean with alcohol. Check the cable for damage. If it persists, reset by holding the power button for 10 seconds or contact support.
Q: Can I disassemble the entire unit for cleaning?
A: Basic disassembly (tanks, brush) is user-friendly, but internal components like the motor require tools and void warranty. Stick to the manual’s guidelines.
Keep Your Tineco iFloor 3 Running Smoothly
With this guide on how to clean Tineco iFloor 3, you’re equipped to handle everything from quick rinses to in-depth maintenance:
- Essential post-use steps to prevent buildup
- A tailored schedule for weekly and monthly care
- Pro tips and warnings to avoid common pitfalls
Following these routines will keep your floors sparkling and your device performing like new, saving you time and hassle. Start with a quick clean today—you’ll notice the difference immediately.
Have you mastered cleaning your Tineco iFloor 3? Share your tips or challenges in the comments below to help fellow users!